Friday, April 29, 2011

graduating soon!

So what did you guys think of the Royal Wedding? I loved it; but then again I’m a self proclaimed Princess :)

So as some of you may have read on my profile, I’m a recent college grad. I finished school back in December but I have to wait until May 15th to walk the stage with the rest of the 2010/2011 graduates…and I’m really excited! I finally get to enjoy my B.F.A degree soon, that is unless my mother steals my diploma and puts it in her room (which I’m sure she will.)

The school sent us order forms for grad announcements, and I have to say they were so.....boring. Don’t get me wrong, they weren’t ugly but they were just too traditional for my taste. So instead of ordering announcements I wasn’t fond of, I decided to design the announcements myself. For those of you who don’t know, I’m also a graphic designer ---> check out my online portfolio (This is just some of the work I’ve done, I also have a printed version.)

Since I went to an art school, I felt I should honor someone I looked up to.
Look who I picked.


Yes, I picked THE MAN! I am the biggest Disney fan ever and felt it only appropriate to choose him.

I love one of his quotes and based my entire design on it. I made it in Photoshop and InDesign (look at the little cap on Walt lol). I’m glad I designed it myself…it’s so “me”.


Sorry, I had to block out some of the info…there’s a lot of crazies out there! lol

Sunday, April 24, 2011

dining room reveal!

Remember when I wanted to create a dining room in my living room mentioned in this post. Well, although I bought my table, finally got the chairs I wanted, and tried to dress it up for my Valentines Day dinner, it still didn't feel like a dining room to me. 

It was just this table in the corner of the room.


So I added some mirrors...


And still...it did nothing for me. 


I was going CRAZY trying to tie it into the rest of the room. Then one day after looking at decor pictures I noticed that most man made dining areas in living rooms have pendant lighting to make it it's own "area". 

I do have two pod lights directly over the table but I didn't want to hire an electrician to switch out the lighting, so I decided to go with a faux pendant. I literally was dreaming one night and woke up with this cool idea. Bird cages are all the rage now... I swear everywhere I go I always see a million of them.  I wanted to hang a bird cage over my table to define the space a little more. 

While shopping at Michaels, I found this gorgeous medium sized shabby chic bird cage. It fit all my criteria, but when I looked at the price it was $15. I know that's cheap...but did I really, really want to spend $15 on a bird cage? I thought about my student loans (not that $15 would put a dent into them) and I put the bird cage down.  That's when my love saw the 50% off sale sign right next to cage.  I immediately snatched it back and ran into the check out line. This isn't the first time he spots a great deal for me. He must be my shopping angel :)


I was loving the bird cage when I got home, but I didn't have the chain link I wanted to hang it up with. I went into my craft stuff and brought out some tulle. I thought I could measure how long the "chandelier" would hang and then get my chain link another day. 

Since the tulle is so thin, I braided a piece and hung it up. Mike said the braid looked cool and thought I should keep it that way, but I hated it. I was totally buying the chain link. 


But even when I hung my faux chandelier, I was still not digging my space. And then it hit me like a ton of bricks. I was missing COLOR.  The only reason I kept my entire room white was to match the carpet I never ended up with.  

I wanted the color to match my living room so I brought it some green to match the carpet. 


Now I was starting to like it! But that candle was not cutting it so I opted for another one. 


LOVE! It went perfectly with the birdcage, and now I was starting to like the braid I made earlier. Doesn't it look cute with it now? 


But....I still wasn't 100% head over heels in love with the dining room!!!

Sooo one day the angels pointed me into the right direction.  

I was on this blog and saw this particular post that inspired me. So I went to her website to see what she did in full detail and she actually got the idea from this website. This is why I love bloggers....ideas go from page to page to page :)  Soooooo...look what I did...

I cut out the template from this website, traced it on the wall...which took 4.5 hours. Yes, my hands were hurting the next day. But then I also had to paint the lines, which took even longer :(


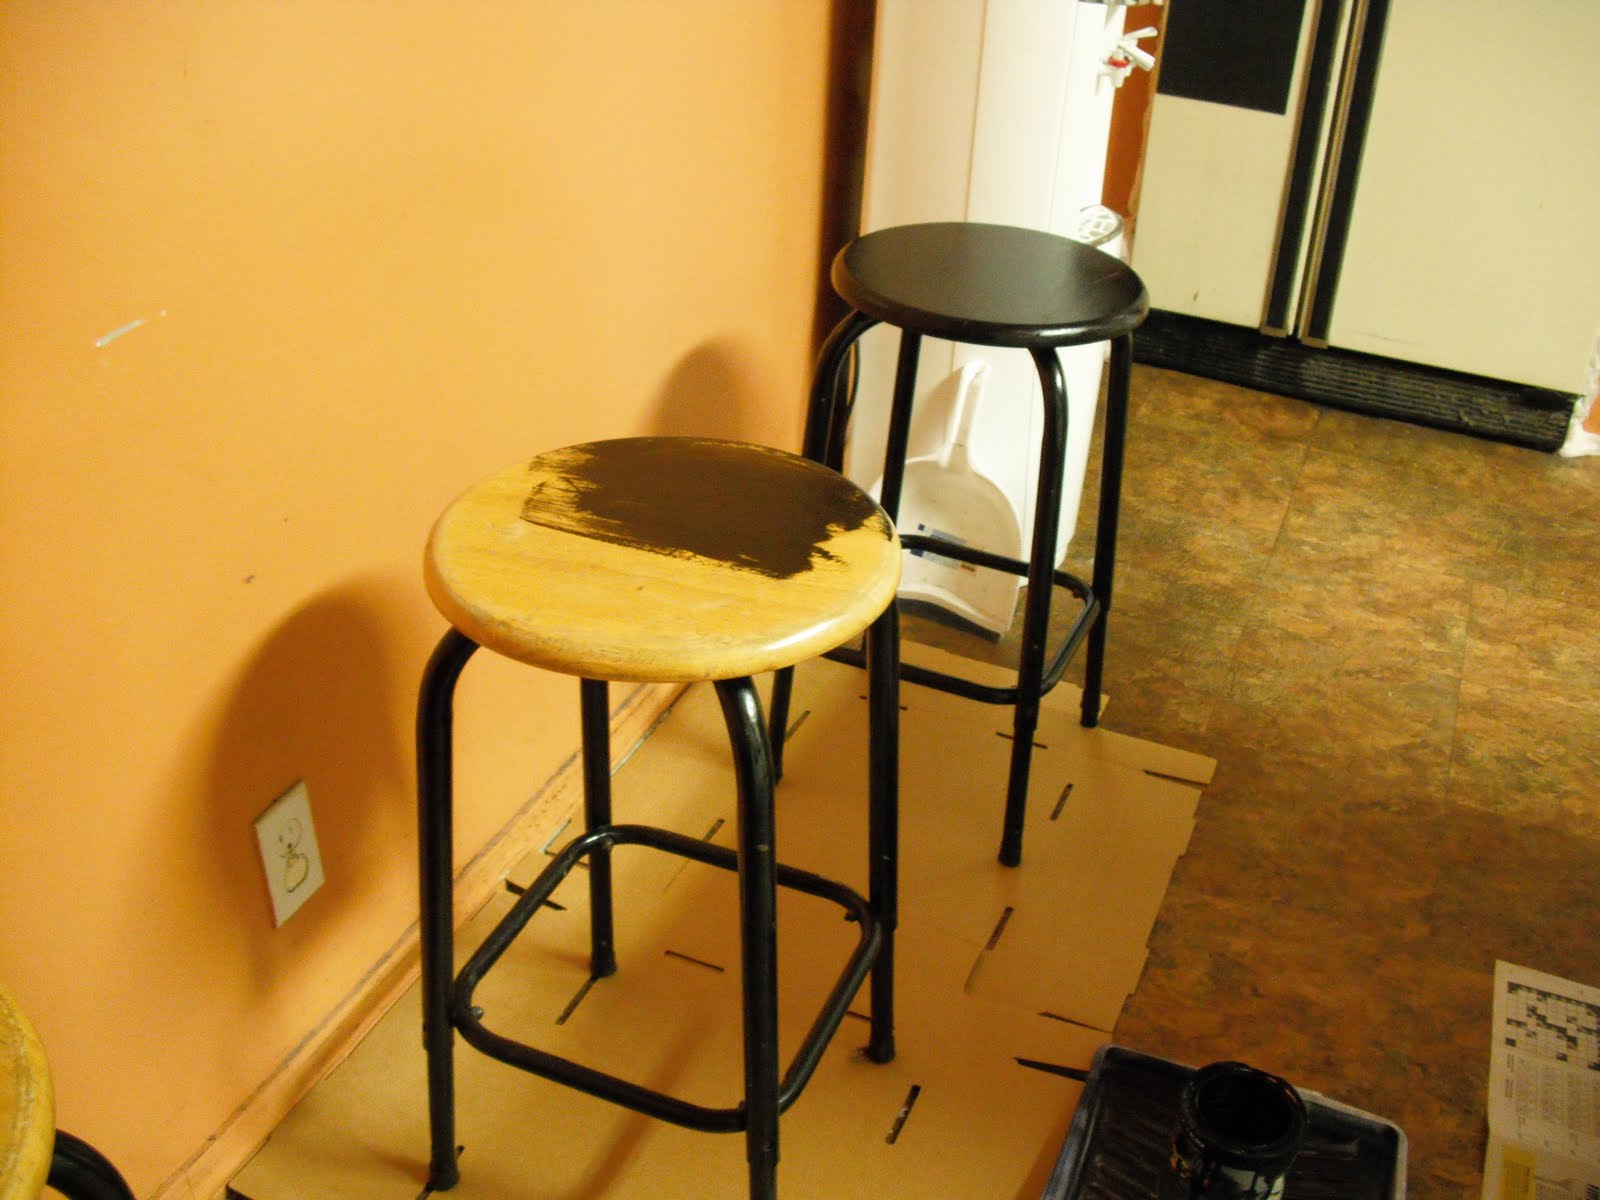
Yeah, that's me painting my friday away :) 

And now....drum roll please....


AND AFTER!!!


Now I'm absolutely positively head over heels in love with my dining room.

What do you guys think? ;)

xoxo - ginny

***POST UDATE***
Thanks to YHL for featuring my dining room stencil project in their Reader Redesign!!!
For those asking about the paint color, it's Valspar "Garden of Paradise" Signature Interior Satin Base 4.


caulk gunnin'

Have you ever caulked? I had no idea what caulk even was until a few weeks ago lol.

Funny story, one time I bought some wood glue in one of those caulk-like tubes...and when I got home I had no idea how people were supposed to squeeze that stuff out. That's when my boyfriend said I needed a caulk gun. LOL! I had no idea! He made fun of me for weeks...

But now I'm just a caulking machine! Since I was fixing up the kitchen, I noticed that out caulk was so worn out and dirty from all the cooking. I went to Lowes, stood in front of all the caulk choices for about 15 minutes, got frustrated and just picked one.

Here's the breakdown of what I did.

1. Take out the old caulk using a blade
2. Clean out the area
3. Tape off the top and bottom
4. Caulk
5. Use my finger to smooth out the bead
6. Stand back and look at what an awesome job I did on my first caulk experience

My mom has never been so proud of me. It's true...she said it. 


Before...yukkies.


Me, cutting away at the grease infested caulk strips.


Grossssssss....


This is the caulk that I settled on. It worked great!


black & white kitchen


Don’t you hate when bloggers don’t write for weeks at a time and just leave everyone in suspense? Yeah me too…sorry :/

But guess what? I semi-finished the Kitchen project! Remember the list

I crossed off what I did.

1. Paint the kitchen

2. Paint the Island/Stools

3. Cabinets

4. Kitchen Skirt
5. Paint the refrigerator
6. Window treatments
7. Cork board Update

Painting the kitchen was hard for everyone. I did the black walls on a day no one was there. I nearly almost killed myself  when I slipped from trying to stand on my tippy toes and paint the trim. That’s when I said “I don’t think so!” and made my brother paint the trim :) lol. Then my brother and mom painted the ceiling and big wall white.

I didn’t get a chance to make the kitchen skirt, but I did clean the heck out of the sink area, and it actually looks nice. I might keep it like that. I also didn’t get a chance to paint the refrigerator only because I keep forgetting to buy the paint! I always put reminders of my phone, but then I press snooze a million times and it slips my mind once again. I’ll eventually get to it. We also didn’t get window treatments because my mother and I have different views on curtains…but we did manage to settle on transparent contact paper. So a trip to Lowes seems to be in my future (which I always love) We also put a halt to the corkboard idea. My mom wants to put the TV where I envisioned the enormous corkboard soooooo that’s that.

But here’s a look of before and (almost) afters...


AFTER...So far :)


We still have to add some art to the bare walls, paint the fridge, trim around the fridge, move the tv....etc.

To be continued ....

Tuesday, April 12, 2011

attic treasures

My attic is very creepy. I think in the 10+ years that I've lived here, I've never once gone all the way inside. Call me a wimp, but I swear it's haunted. Then again, I've seen a million scary movies so I'm sure that has psychologically scarred me for life.

Yesterday my brother went in the attic and look what he found....


Music sheets!!!

Dun dun dunnnnnnn! To bad I can't read music, I totally would've tried to play this :)

island lovin'

When I got home from work yesterday, my brother and mom had already started on the kitchen update. I’m a little nervous about showing the photos because it was right in the middle of unloading cabinets and moving stuff around…so it kinda looks like a cross between a tornado hitting the kitchen and an episode of hoarders. I swear everyone, it usually doesn’t look that bad! Lol. But since I said I was going to take “before” pics, I had to settle for “in progress” shots. As much as I hate to show you them, I keep it real…below are photos of my messy kitchen. :)

The first thing I did was move some stuff out so I wouldn’t feel so closter phobic in the disorganized kitchen. Then I focused on the island, which meant cleaning it, sanding the wood and painting it. And just so everyone knows, the Method cleaner that I used was amazing! I loveeeeee it and  I think everyone should have a bottle of it at home. Anyways, check out the transformation of the island. I used the same paint I used for the doormat. I’m loving that black backing now, and I think it’s going to look fantastic with the stools I’m painting too.  I only painted 2, just to see how long it would take to cure.  This morning they were dry, but I’ll still wait until tomorrow to let anyone sit on them. Last thing I need is someone getting black oil-based paint on their clothes and blaming me for it.

I also took off two cabinet doors. I have to admit it was a little jarring at first, seeing the big empty spot above the oven, but once we put those glass containers in there it felt perfect.  My mom had 2 of those jars already but it didn’t fill the space up enough, so I donated mine. I guess it was for a good cause lol. We still have to fill the top shelf with something, so I put a basket in there to see what it looked like, but we’re not totally sold on that look. We’ll see. Now I just have to buy black contact paper and line that cabinet. I think it’s going to look really cool and look like it’s outlined in white.  I’m buying the paper today so I’ll post that project soon.  I’ll stop blabbing now and let the photos speak for themselves.


What it looked like at first...


And now dry...Gorgeous :)


That's it for now..

Until next time ;)

~ginny