Showing posts with label Before/After. Show all posts

Wednesday, September 18, 2013

Bathroom Progress


Hello all! Isn’t this weather scary? I never noticed how scary a thunderstorm is when you have giant windows. I swear, at one point I thought the lightning was going to come through the window and strike me.

Anywho…I’m back with photos of my bathroom. We’re still very much in progress, but we did manage to find some decorations that matched the mood board. I’m still fighting with Mike about the “girly canvas”, but I’m pretty sure I’m going to win this battle. Mainly because it really makes the bathroom pop with just the right amount of glamour.

Please disregard my terrible photography skills. There isn’t a window in the bathroom, so we don’t have any natural light. I’m still learning how to use my camera and I have no idea how to white balance it. Blah. Hopefully I learn soon so you will be able to fully appreciate what I’m trying to show the blog world.

Here’s a peek of our blue little bathroom. We pretty much found everything at Marshalls. The shower curtain was $15, the adorable towels were on clearance for $5 each (score!!!), the soap/lotion dish was $8, and the candle was from Kohls and was $15.

Not pictured: mason jars - which I got from Michael's Crafts. The are currently doing a wonderful job at holding our qtips, cotton balls and razors. 


Side note - hilarious story...

So the bathroom needed some paint touch ups due to the spackling/patching. I asked our landlord if he had the paint. He told me he did and gave me a bucket of blue paint. I told Mike to touch up a spot on the wall while I was at work. Well ladies and gentlemen...I come home to a huge blotch of paint on the wall. You can see in the photo where Mike was supposed to paint, and he decided to paint a huge square! Needless to say our landlord gave us the wrong paint. 

We went back and asked him for another can of blue paint. He gave us another one that was darker than the first. And look where Mike painted it!!! Instead of painting it on the large blue square he already painted, he decided to make another little section of the wrong paint. Hahaha...I died laughing. He is so funny.

Sorry for the terrible image quality, I took these photos on my phone.

Our landlord finally told us he didn't have the paint anymore for the bathroom. Insert sad face here! Well we just had to make do. We went to Lowes and picked up a whole bunch of paint swatches. I picked up the closest ones and taped them up. We stared at the swatches for maybe an hour and picked the one that we felt looked exactly like our paint. We chose Honesty by Olympic paint.

I was a bit nervous when Mike started painting because it looked too light, but as soon as it dried it was as if nothing was ever there. Problem solving is pretty much what we do. Whoop whoop! Hope you like the bathroom!


Thursday, January 19, 2012

Got Contact Paper?

Look what I did with a scrap of black contact paper.


My toilet suddenly looks so dapper :)


Wednesday, October 12, 2011

More Halloween Decor!

I thought I would share this little project I did with some ugly pumpkins.

My boyfriends father had these pumpkins he drew on that he was going to throw out, so of course I took them :)


I wanted them to look chic, so I gave them a glamorous makeover. Voila! 
I swear, you can never go wrong with a little black and white paint...and glitter spray! :)


I'm loving them now and am proudly displaying them.

Here's another quick $2 halloween decor tip.

Black construction paper = invasion of the flying bats!


All I did was google "bat stencil" and printed out the first bat I saw and cut the heck out of them. My hand was a little sore but look how cute it looks. Very worth it for $2 :)

Thursday, September 22, 2011

Coaster Redo


Who doesn’t love key silhouettes? Am I right or am I right, can I get a 
what, what!”? 

Assuming you guys just totally gave me a “what, what!”, I’m going to show you what I put key silhouettes on.


I had some boring cork coasters that needed to be freshened up.  Silhouettes are all the rage now, so I thought it would be a cute girly touch. One fat black sharpie and 10 minutes later, they turned into this.


Who knows? Maybe my friends & boyfriend might actually use them! (Just kidding guys, well… not really.)

Wednesday, September 21, 2011

DIY Halloween Décor


Do you have a million wine bottles that you have sitting on your countertop just waiting to be recycled? I do, but since I’m lazy and have yet to make a recycling bin I just have them there…staring at me.

Then a crazy idea popped into my head. Why don’t I spray paint them black to make a cool table centerpiece? I had this awesome vision in my head that 100% didn’t translate into real life. Upset that I just wasted a whole can of black spray paint I opted to do something a little different to them. I made them into Halloween décor!


This is a really inexpensive way to dress up your home for Halloween. I drew on some spooky stuff using some white out. I really like them now. And of course, they were FREE à my favorite word. Lol.


For scarier results, just add a floating head. 


Wednesday, August 24, 2011

alley art

A couple weeks ago I found this painting in my boyfriends alley. Sure, it's not the most attractive painting ever, but I was loving the frame. It looks and feels rich to me. So I grabbed it and put it in my work dungeon. Well I finally had time to re-do it and this is what I came up with.


I painting it all white and kept it simple with peace & heart graphics. It was strictly black and white, but it was Mike's idea to fill in the heart with spray paint to give that cool effect.
He also contributed the perfect name: "My heart bleeds for peace".

*Post Update*
I was just informed this is the Mercedes logo....whoops!
I'll fix it and repost soon ;) 

kitchen decor

I thought I would post some of the pictures I took of the whole desk process seen here

 Since I don't own saw horses (yet) I cut the desktop on some stools. I really don't recommend this, don't do it kids! It was hard, and I really had to hold down the wood to make sure it didn't fly and kill Mike.


Us posing happily with the new bare countertop :)

And now for the after pictures!!!

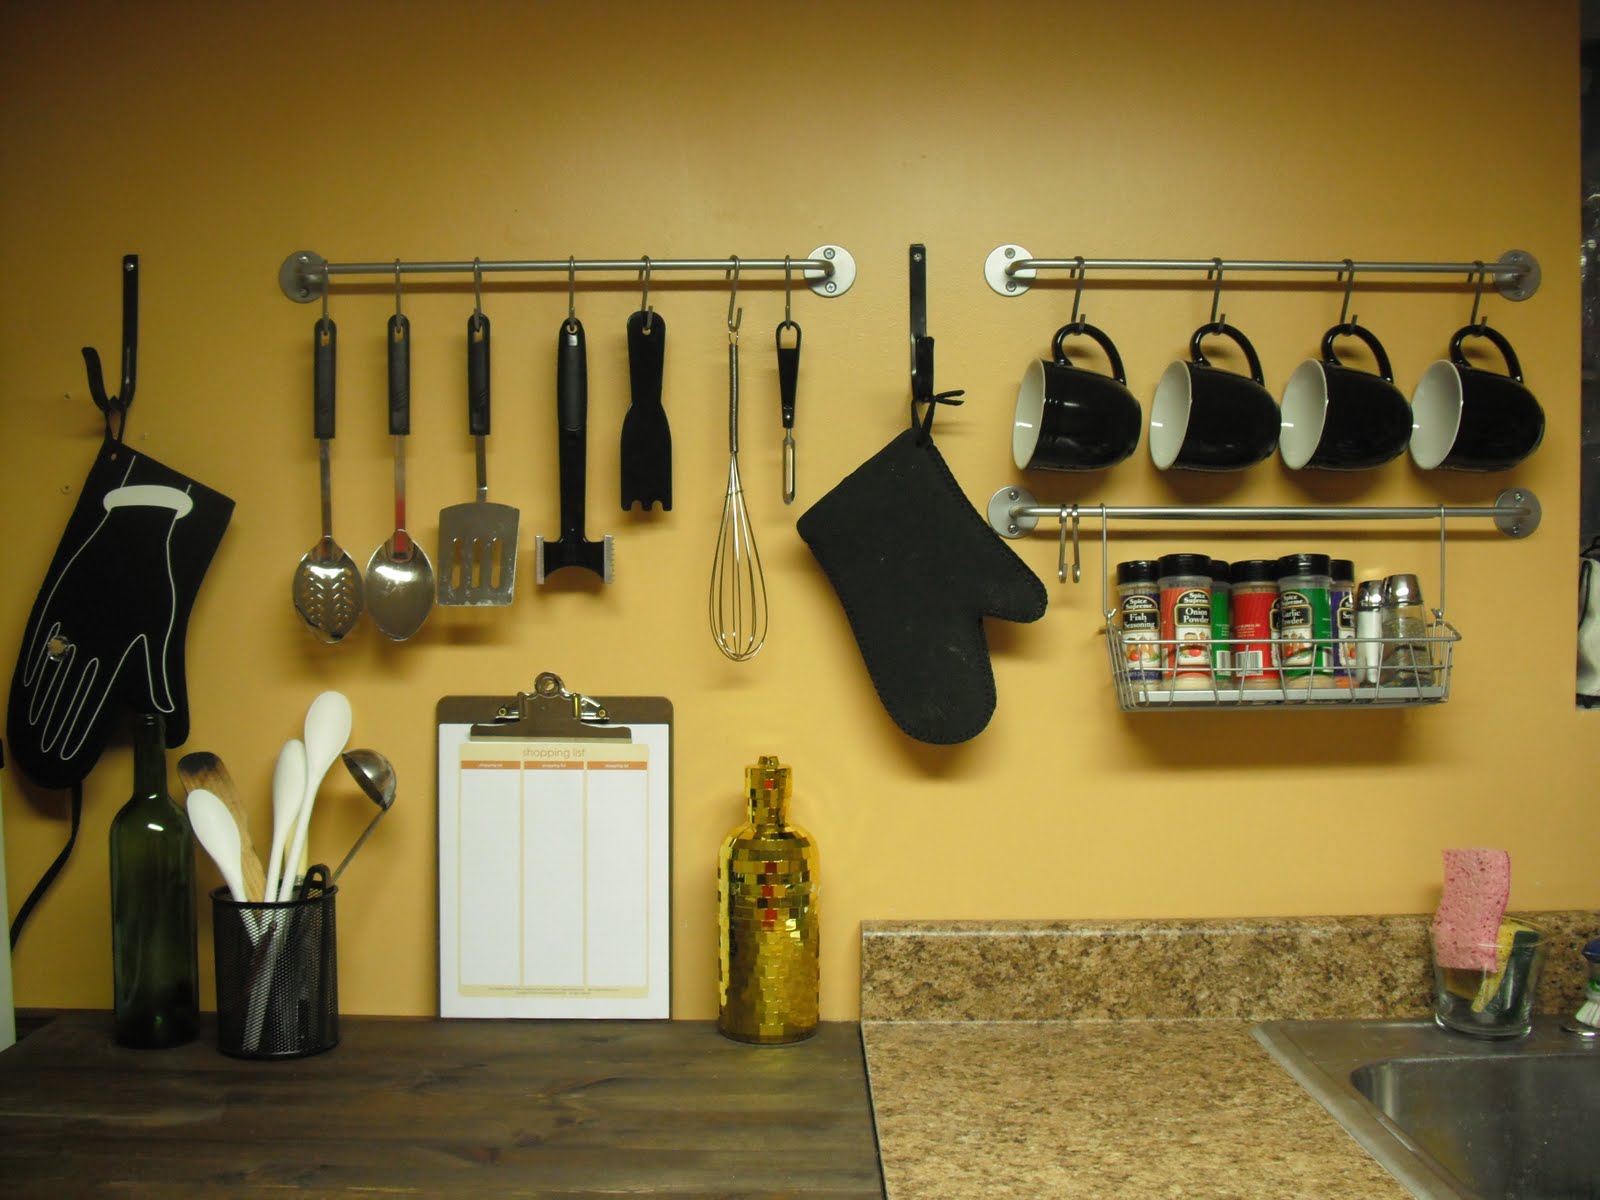
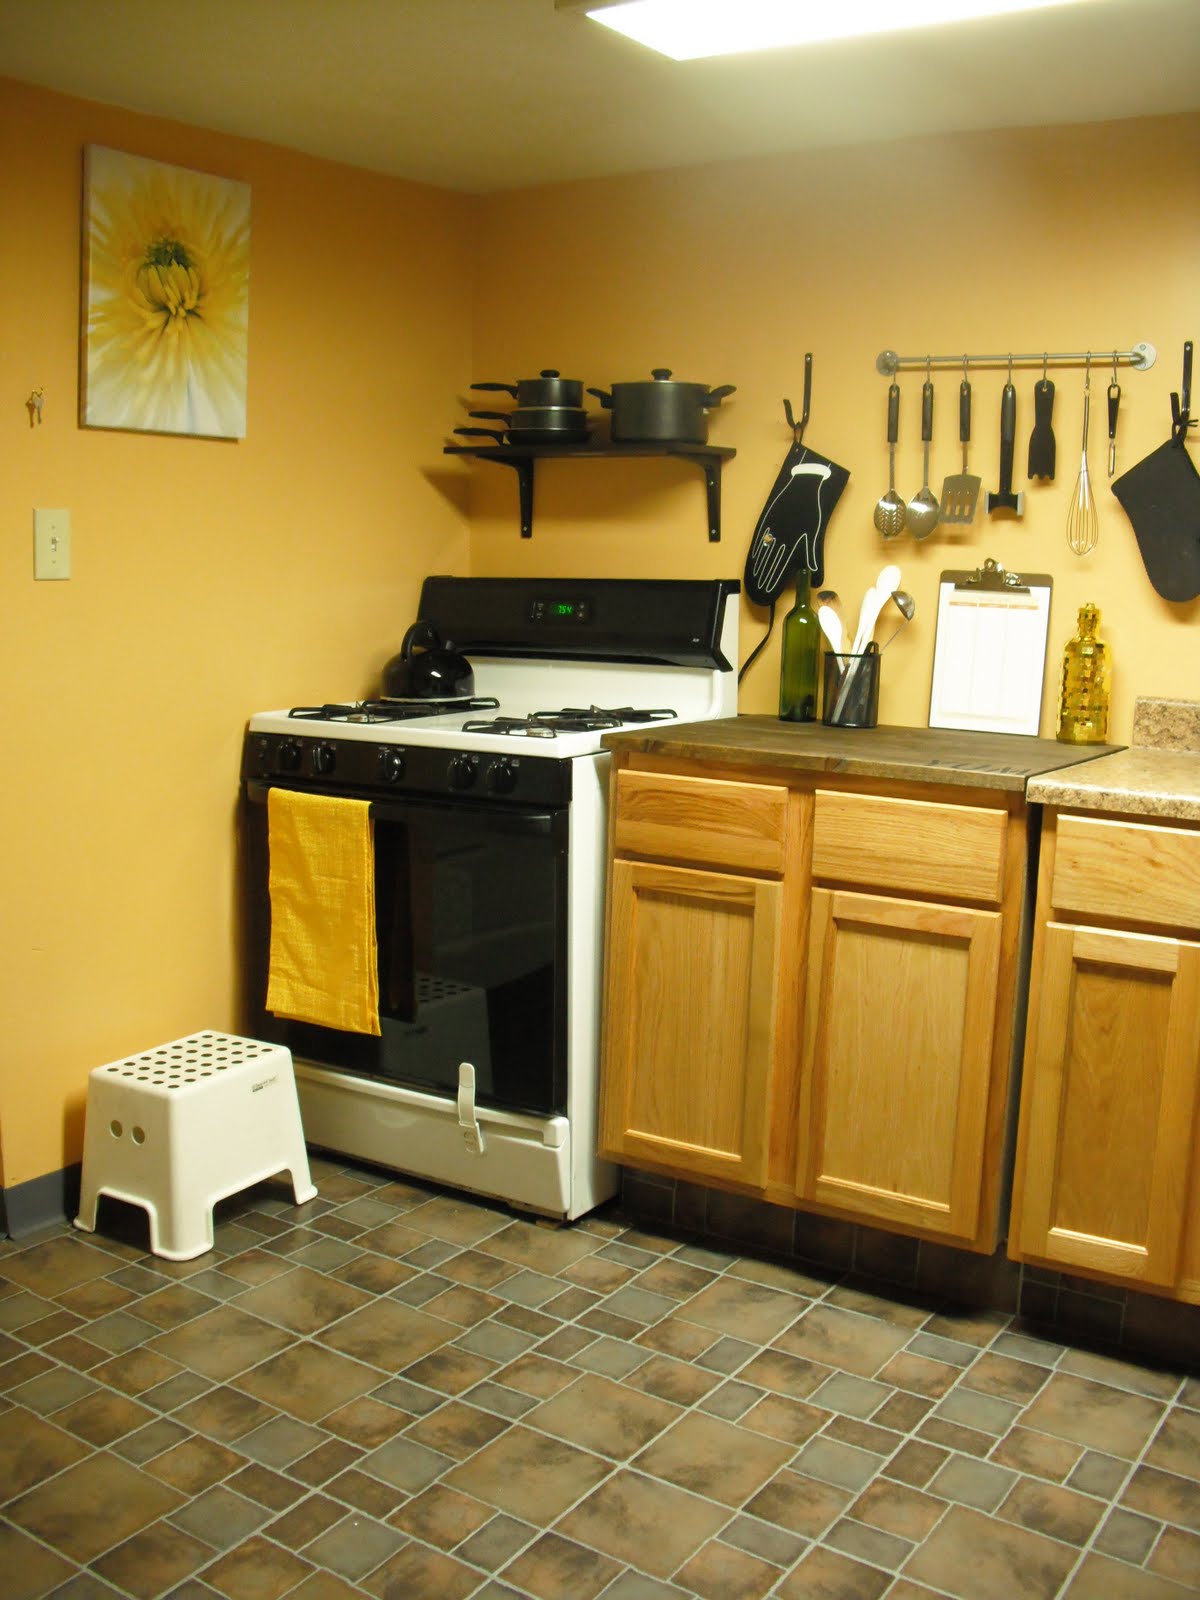
I added a Bygel rail to hang my cooking utensils, switched out my light bookshelf for a darker one to match the counter top and hung my adorable oven mitt.


Now it will be easier to cook, if I ever decide to ;)


I found this shopping list, and it matches the kitchen perfectly.


Mike bought me this oven mitt. I think he's trying to tell me something :D

Thanks for taking a tour of my kitchen!

Sunday, May 22, 2011

antelope video update

Hey guys! I thought instead of writing a huge post I would be lazy and make a video :) 


Thursday, May 5, 2011

thanks urban outfitters!

My friend Griselda bought me some stuff from Urban Outfitters for my birthday. I adored her gifts but I also loved the bag it came in lol. Random, I know. The material of the bag was so cool, and it was designed so well that I couldn't just throw it away....so I kept it.

Its home was my bed railing for a while but after months of looking at it I decided it needed a better home. Somewhere it could be appreciated more..

This bag moved over to couch, and it got some plastic surgery too.


My new pillow rocks!

btw-I didn't use a flash and that's why the pics are soooooo yellowish. =/ oh well.

Sunday, April 24, 2011

dining room reveal!

Remember when I wanted to create a dining room in my living room mentioned in this post. Well, although I bought my table, finally got the chairs I wanted, and tried to dress it up for my Valentines Day dinner, it still didn't feel like a dining room to me. 

It was just this table in the corner of the room.


So I added some mirrors...


And still...it did nothing for me. 


I was going CRAZY trying to tie it into the rest of the room. Then one day after looking at decor pictures I noticed that most man made dining areas in living rooms have pendant lighting to make it it's own "area". 

I do have two pod lights directly over the table but I didn't want to hire an electrician to switch out the lighting, so I decided to go with a faux pendant. I literally was dreaming one night and woke up with this cool idea. Bird cages are all the rage now... I swear everywhere I go I always see a million of them.  I wanted to hang a bird cage over my table to define the space a little more. 

While shopping at Michaels, I found this gorgeous medium sized shabby chic bird cage. It fit all my criteria, but when I looked at the price it was $15. I know that's cheap...but did I really, really want to spend $15 on a bird cage? I thought about my student loans (not that $15 would put a dent into them) and I put the bird cage down.  That's when my love saw the 50% off sale sign right next to cage.  I immediately snatched it back and ran into the check out line. This isn't the first time he spots a great deal for me. He must be my shopping angel :)


I was loving the bird cage when I got home, but I didn't have the chain link I wanted to hang it up with. I went into my craft stuff and brought out some tulle. I thought I could measure how long the "chandelier" would hang and then get my chain link another day. 

Since the tulle is so thin, I braided a piece and hung it up. Mike said the braid looked cool and thought I should keep it that way, but I hated it. I was totally buying the chain link. 


But even when I hung my faux chandelier, I was still not digging my space. And then it hit me like a ton of bricks. I was missing COLOR.  The only reason I kept my entire room white was to match the carpet I never ended up with.  

I wanted the color to match my living room so I brought it some green to match the carpet. 


Now I was starting to like it! But that candle was not cutting it so I opted for another one. 


LOVE! It went perfectly with the birdcage, and now I was starting to like the braid I made earlier. Doesn't it look cute with it now? 


But....I still wasn't 100% head over heels in love with the dining room!!!

Sooo one day the angels pointed me into the right direction.  

I was on this blog and saw this particular post that inspired me. So I went to her website to see what she did in full detail and she actually got the idea from this website. This is why I love bloggers....ideas go from page to page to page :)  Soooooo...look what I did...

I cut out the template from this website, traced it on the wall...which took 4.5 hours. Yes, my hands were hurting the next day. But then I also had to paint the lines, which took even longer :(


Yeah, that's me painting my friday away :) 

And now....drum roll please....


AND AFTER!!!


Now I'm absolutely positively head over heels in love with my dining room.

What do you guys think? ;)

xoxo - ginny

***POST UDATE***
Thanks to YHL for featuring my dining room stencil project in their Reader Redesign!!!
For those asking about the paint color, it's Valspar "Garden of Paradise" Signature Interior Satin Base 4.