Showing posts with label Kitchen. Show all posts

Wednesday, August 24, 2011

kitchen decor

I thought I would post some of the pictures I took of the whole desk process seen here

 Since I don't own saw horses (yet) I cut the desktop on some stools. I really don't recommend this, don't do it kids! It was hard, and I really had to hold down the wood to make sure it didn't fly and kill Mike.


Us posing happily with the new bare countertop :)

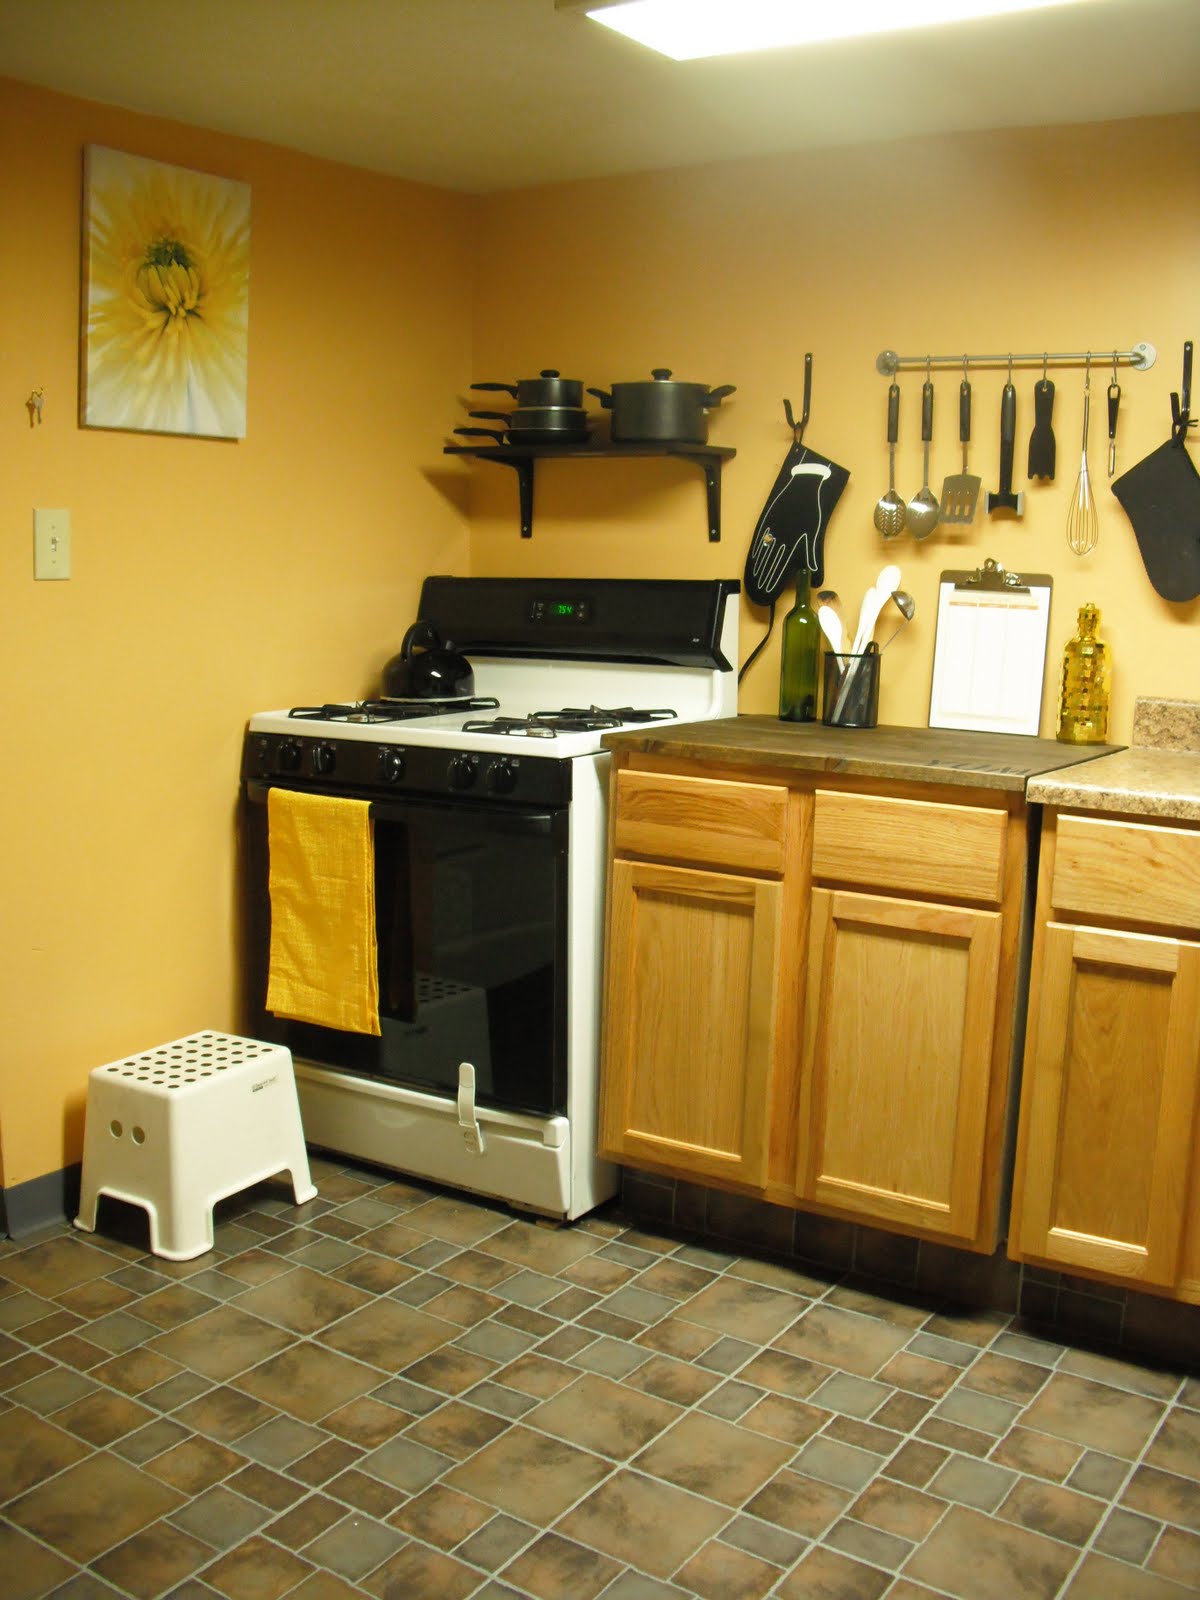
And now for the after pictures!!!

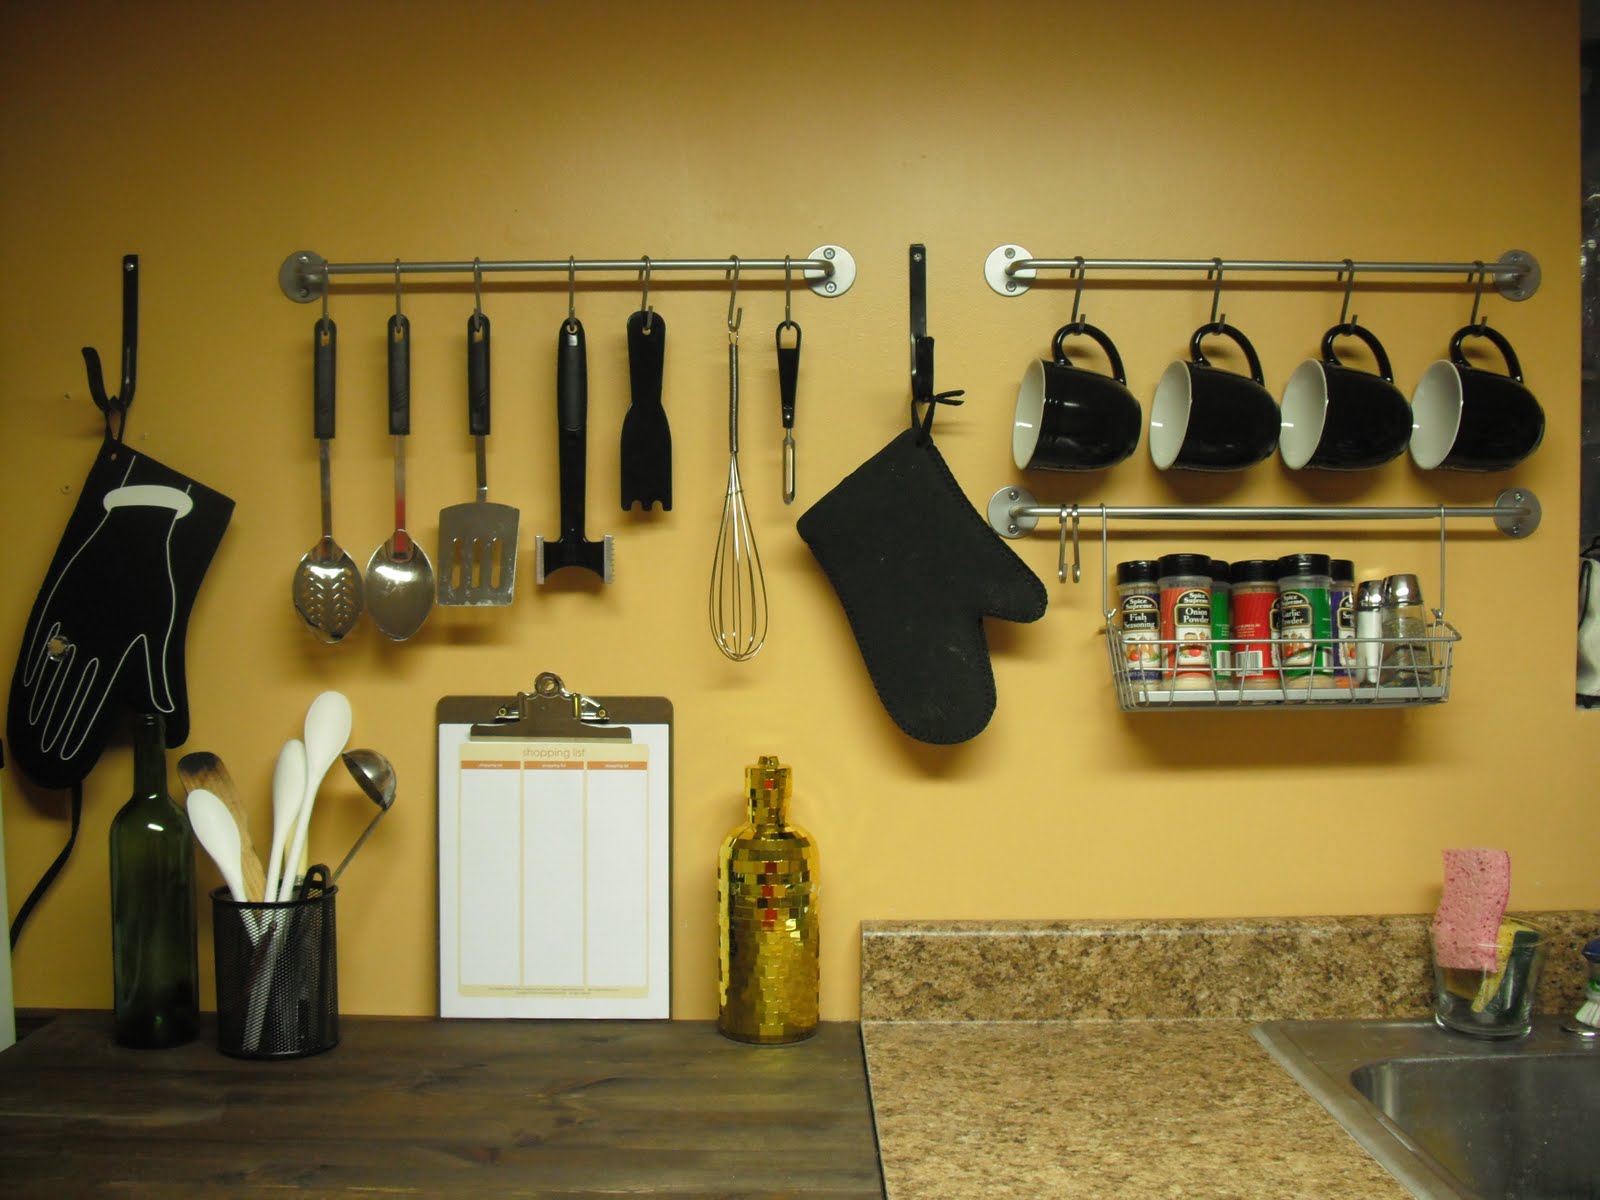
I added a Bygel rail to hang my cooking utensils, switched out my light bookshelf for a darker one to match the counter top and hung my adorable oven mitt.


Now it will be easier to cook, if I ever decide to ;)


I found this shopping list, and it matches the kitchen perfectly.


Mike bought me this oven mitt. I think he's trying to tell me something :D

Thanks for taking a tour of my kitchen!

butcher block counter top love


Back on June 22nd when I was feeling all sorts of optimistic I made a to-do  list…to do. Unfortunately, I didn’t really finish it.  My boyfriend’s bedroom is still in limbo. He still has paper work everywhere and that hideous thing of a desk in there. I won’t touch it until he fixes that problem lol. My 2nd bedroom turned closet/office is pretty much done. I painted the wall black, cleaned it up and fixed my art corner. I should probably take some pictures of it, huh?
I didn’t turn my coffee table into a bench, I tried to sell it in a garage sale but to my surprise no one took it. It doesn’t have 1 scratch on it; I really thought it was going to be one of the first things I sold. I also didn’t paint my paint can planters.  *sigh*

BUT I did get to do something else that wasn’t even on my list.
1. I painted the concrete exterior blocks in the front. Nice and white, looks nice and brighter. I still have some parts to finish…I think I’ll do it on the weekend.
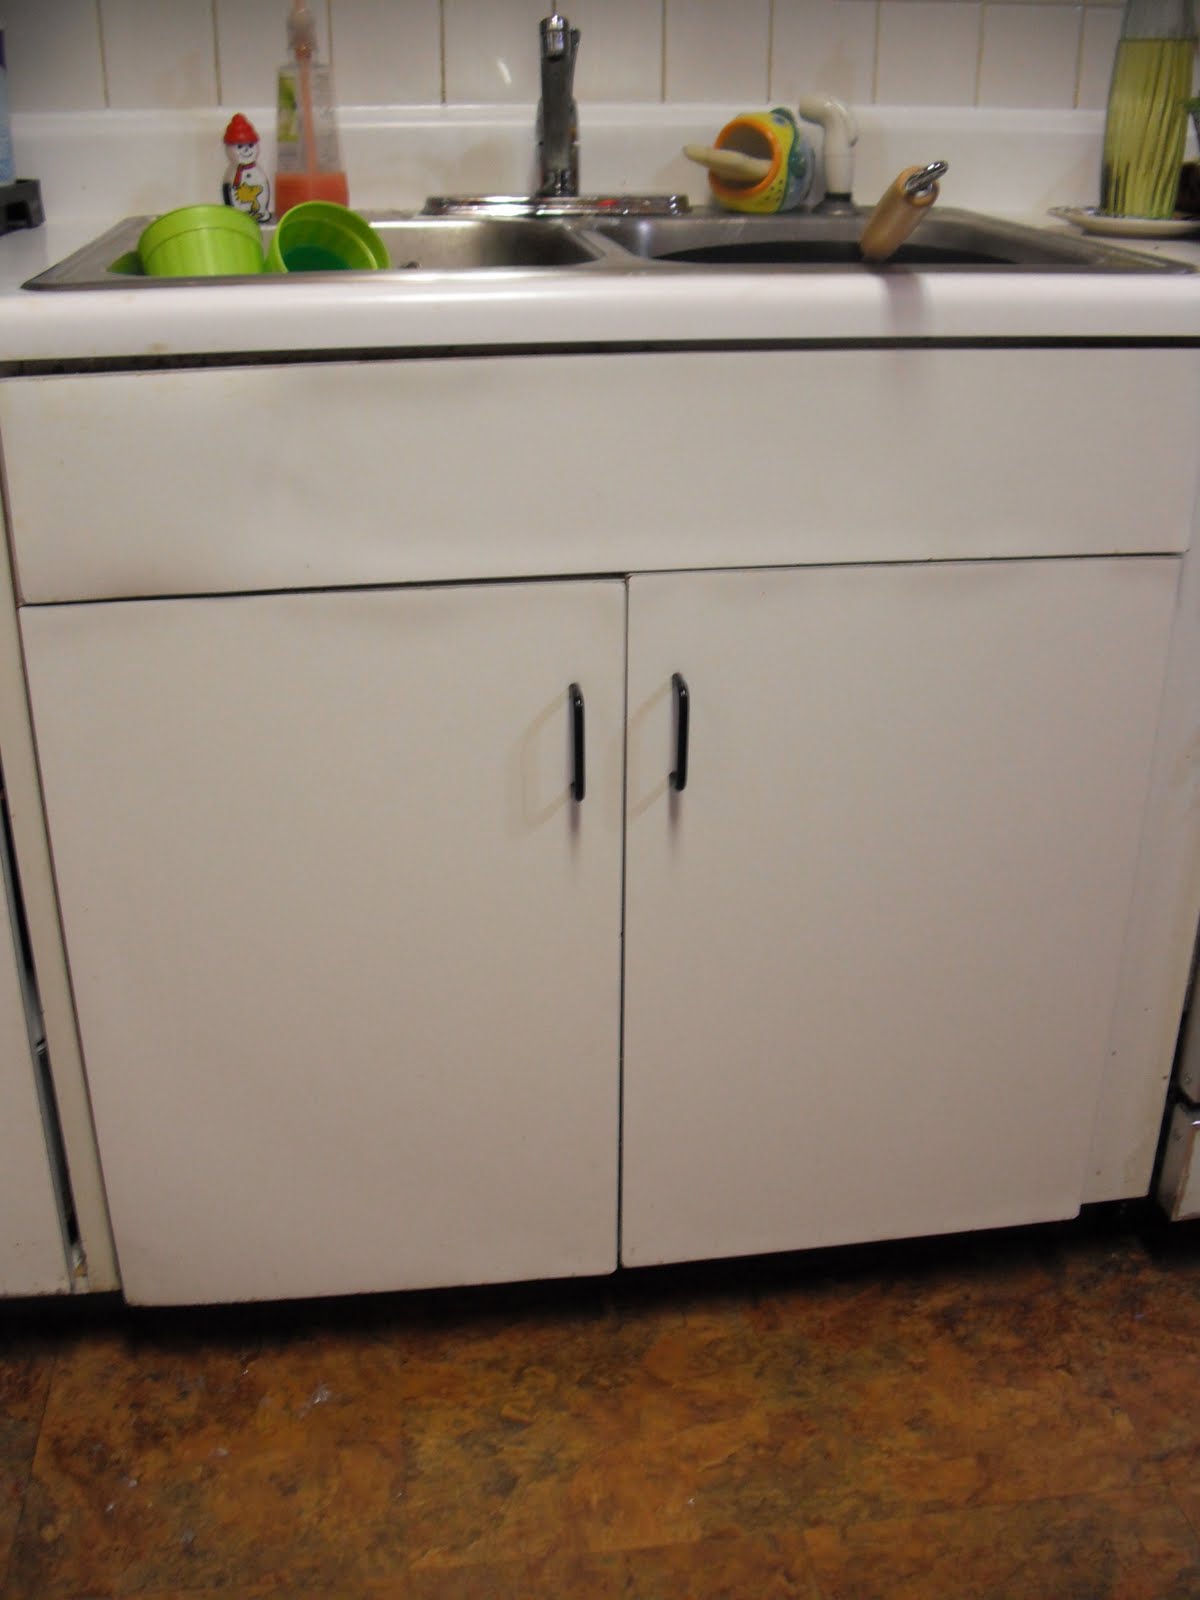
2. I added another cabinet to my kitchen. I had a gap there before and had a wire bookcase holding my plates (pics seen here). I never really liked how it looked, but I stayed with that for so long because 1. I didn’t want to buy another cabinet 2. I didn’t know how to install another cabinet.

But guess what? My bestie for life, Jennifer gave me a $50 gift card to my favorite store Lowes, so I used it towards the purchase. It actually looks and feels like a complete kitchen now.
Everything was fine and dandy until I realized that the cabinets didn’t match up. My kitchen floor is 100% uneven so that’s how my cabinets were going to be.  Yes, my heart ached for a minute or so, but then I thought, “who cares?” Who cares if my cabinets aren’t completely straight?? I don’t, just as long as I have something there right?

I painted my unfinished cabinet to match its counterpart and it looks lovely. But once again, I ran into a bump on the road. The base cabinet is only 30 inches wide, and the countertop I needed doesn’t sell that size. They don’t even sell anything close to it!  But as usual Ikea saved the day.  Instead of having the same countertop, why not add some butcher block?

I know what you’re thinking, “why is she mixing tops?” but I know it will work! Last Sunday I helped out at an Open House for a million dollar home. The homeowner had a butcher-block countertop next to her oven where she said it was easier to prepare meals. That way, she didn’t have to ruin her granite countertops. It’s genius if you think about it.

I found LAGAN at Ikea, it’s the very cheap version of their butcher block, and at $39 it’s the perfect price for me :). The best part is, it can be cut and sanded down. It’s like music to my ears.
Well I went to lowes to buy the butcher block and guess what? They were SOLD OUT of it!  I was heartbroken until my shopping angel boyfriend spotted out a pine wooden desktop. It was $40 and beautiful. I took it in a heart beat!

I went home, cut it down with my boo (which was quite the experience). Side note: NEVER saw anything indoors, the dust literally took over my entire apartment and it took a couple hours to get the woodshop class smell out of it. Blah! But I learned better and decided to stain the block outside. Yes, I stained it a beautiful dark walnut brown. It’s gorgeoussss! !

I brought it inside, set it up and you know what? I like it. It looks funky at first but then you warm up to it. Plus I’ve never been one to be cookie cutter so what would you expect from me? ;)  

Full beautiful pics will be up soon.  Until then, look at my awesome cell phone pictures :P


It's fits! Well, kinda :P


I had a whoopsie while sawing, but this wood filler is AWESOME! 


I thought I would add in a little detail.


Hey, it's better than what I had before! ;)

Sunday, April 24, 2011

caulk gunnin'

Have you ever caulked? I had no idea what caulk even was until a few weeks ago lol.

Funny story, one time I bought some wood glue in one of those caulk-like tubes...and when I got home I had no idea how people were supposed to squeeze that stuff out. That's when my boyfriend said I needed a caulk gun. LOL! I had no idea! He made fun of me for weeks...

But now I'm just a caulking machine! Since I was fixing up the kitchen, I noticed that out caulk was so worn out and dirty from all the cooking. I went to Lowes, stood in front of all the caulk choices for about 15 minutes, got frustrated and just picked one.

Here's the breakdown of what I did.

1. Take out the old caulk using a blade
2. Clean out the area
3. Tape off the top and bottom
4. Caulk
5. Use my finger to smooth out the bead
6. Stand back and look at what an awesome job I did on my first caulk experience

My mom has never been so proud of me. It's true...she said it. 


Before...yukkies.


Me, cutting away at the grease infested caulk strips.


Grossssssss....


This is the caulk that I settled on. It worked great!


black & white kitchen


Don’t you hate when bloggers don’t write for weeks at a time and just leave everyone in suspense? Yeah me too…sorry :/

But guess what? I semi-finished the Kitchen project! Remember the list

I crossed off what I did.

1. Paint the kitchen

2. Paint the Island/Stools

3. Cabinets

4. Kitchen Skirt
5. Paint the refrigerator
6. Window treatments
7. Cork board Update

Painting the kitchen was hard for everyone. I did the black walls on a day no one was there. I nearly almost killed myself  when I slipped from trying to stand on my tippy toes and paint the trim. That’s when I said “I don’t think so!” and made my brother paint the trim :) lol. Then my brother and mom painted the ceiling and big wall white.

I didn’t get a chance to make the kitchen skirt, but I did clean the heck out of the sink area, and it actually looks nice. I might keep it like that. I also didn’t get a chance to paint the refrigerator only because I keep forgetting to buy the paint! I always put reminders of my phone, but then I press snooze a million times and it slips my mind once again. I’ll eventually get to it. We also didn’t get window treatments because my mother and I have different views on curtains…but we did manage to settle on transparent contact paper. So a trip to Lowes seems to be in my future (which I always love) We also put a halt to the corkboard idea. My mom wants to put the TV where I envisioned the enormous corkboard soooooo that’s that.

But here’s a look of before and (almost) afters...


AFTER...So far :)


We still have to add some art to the bare walls, paint the fridge, trim around the fridge, move the tv....etc.

To be continued ....

Tuesday, April 12, 2011

island lovin'

When I got home from work yesterday, my brother and mom had already started on the kitchen update. I’m a little nervous about showing the photos because it was right in the middle of unloading cabinets and moving stuff around…so it kinda looks like a cross between a tornado hitting the kitchen and an episode of hoarders. I swear everyone, it usually doesn’t look that bad! Lol. But since I said I was going to take “before” pics, I had to settle for “in progress” shots. As much as I hate to show you them, I keep it real…below are photos of my messy kitchen. :)

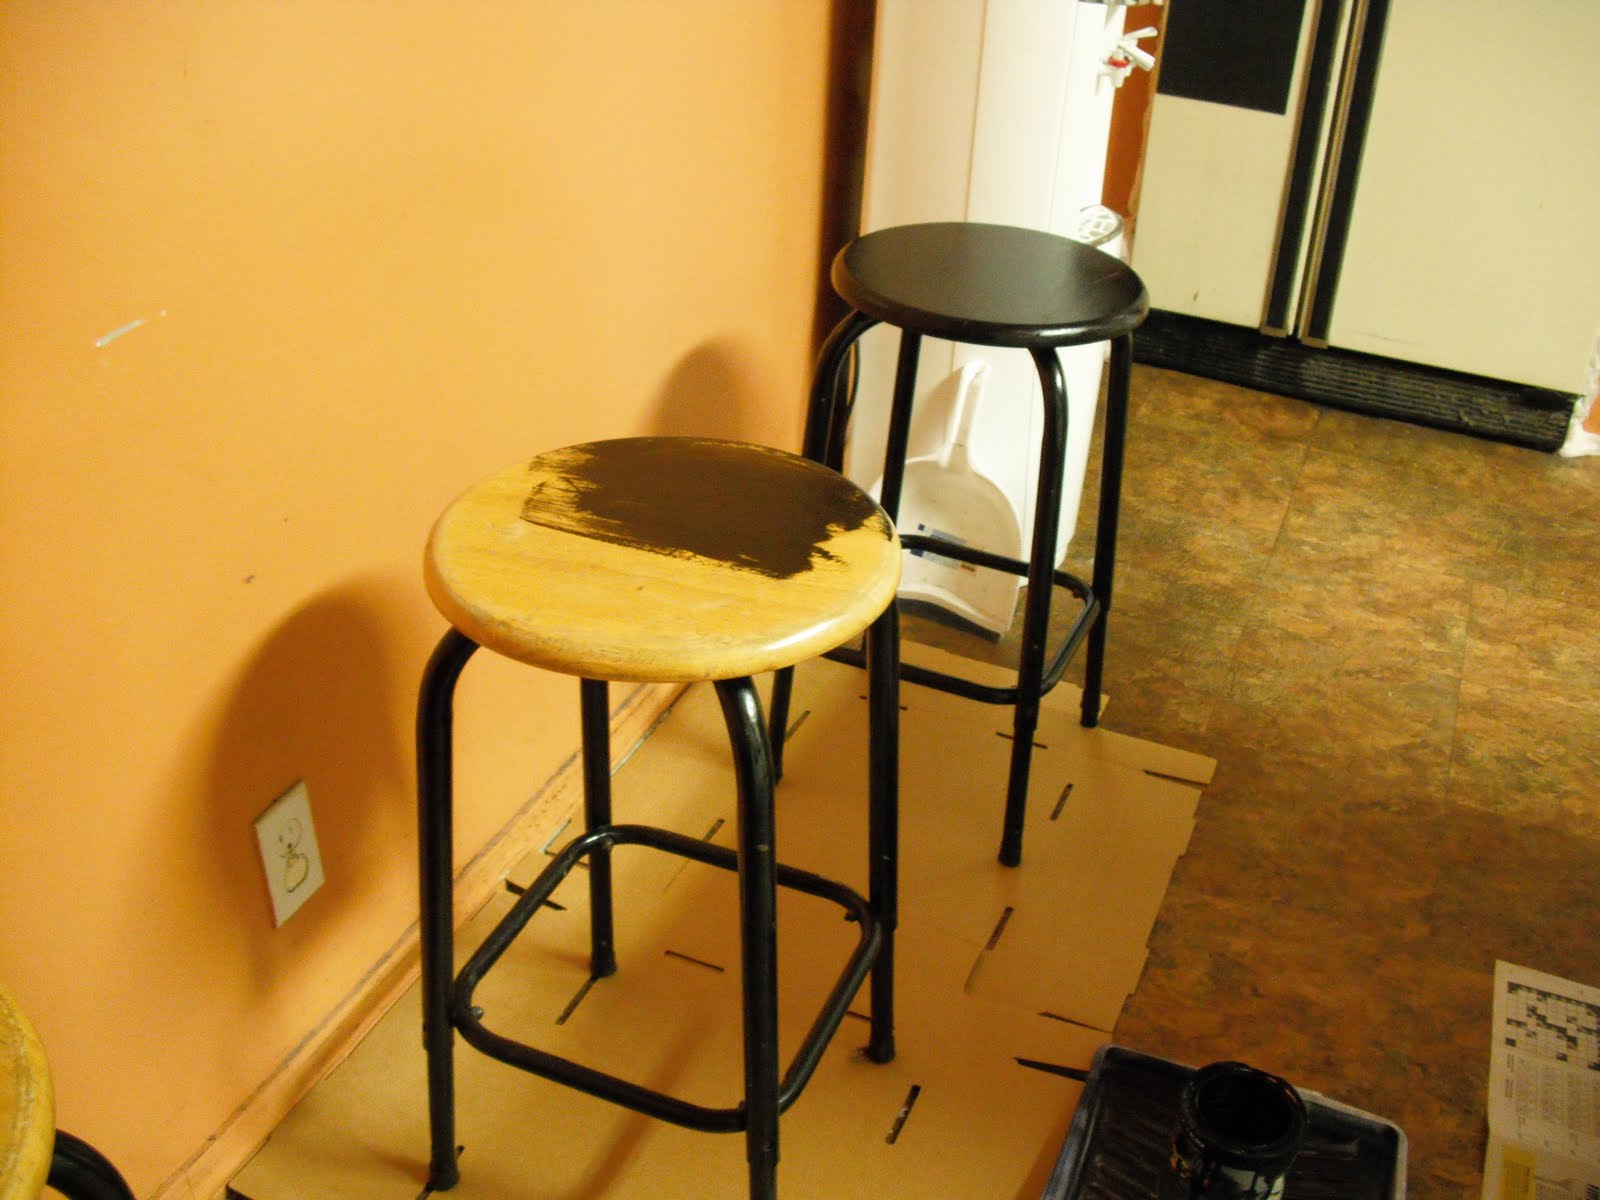
The first thing I did was move some stuff out so I wouldn’t feel so closter phobic in the disorganized kitchen. Then I focused on the island, which meant cleaning it, sanding the wood and painting it. And just so everyone knows, the Method cleaner that I used was amazing! I loveeeeee it and  I think everyone should have a bottle of it at home. Anyways, check out the transformation of the island. I used the same paint I used for the doormat. I’m loving that black backing now, and I think it’s going to look fantastic with the stools I’m painting too.  I only painted 2, just to see how long it would take to cure.  This morning they were dry, but I’ll still wait until tomorrow to let anyone sit on them. Last thing I need is someone getting black oil-based paint on their clothes and blaming me for it.

I also took off two cabinet doors. I have to admit it was a little jarring at first, seeing the big empty spot above the oven, but once we put those glass containers in there it felt perfect.  My mom had 2 of those jars already but it didn’t fill the space up enough, so I donated mine. I guess it was for a good cause lol. We still have to fill the top shelf with something, so I put a basket in there to see what it looked like, but we’re not totally sold on that look. We’ll see. Now I just have to buy black contact paper and line that cabinet. I think it’s going to look really cool and look like it’s outlined in white.  I’m buying the paper today so I’ll post that project soon.  I’ll stop blabbing now and let the photos speak for themselves.


What it looked like at first...


And now dry...Gorgeous :)


That's it for now..

Until next time ;)

~ginny